First steps
You finished signup and the setup wizard. Welcome to your dashboard - the place where you run your business on Timelish.
This guide is your checklist. Work through the steps below in order. Most owners can go from a fresh account to a live, tested booking page in about 30 minutes.
Your checklist
- Complete your business profile - confirm your name, logo, colours, and contact details.
- Set up your services - make sure what clients can book matches what you really offer.
- Set your availability - define when clients can book you.
- Build your website - tidy up the starter pages the wizard created.
- Connect essentials - finish calendar, payment, and notification links you may have skipped.
- Publish and share - turn pages live and copy your booking link.
- Test the customer experience - book yourself once to prove everything works.
- Manage bookings and customers - learn where incoming bookings and client info live.
Two sides of Timelish
| Where | What it is for |
|---|---|
| Your dashboard | You set up services, hours, your website, messages, and billing. |
| Your booking website | Clients see your pages and book time with you. |
Your booking website address looks like https://yourname.timeli.sh. You can find and copy it under Settings → Brand. You can also use your own web address later - see Connect your own web address.
Get to know your dashboard
The side menu groups everyday tasks. Here is what each area is for.
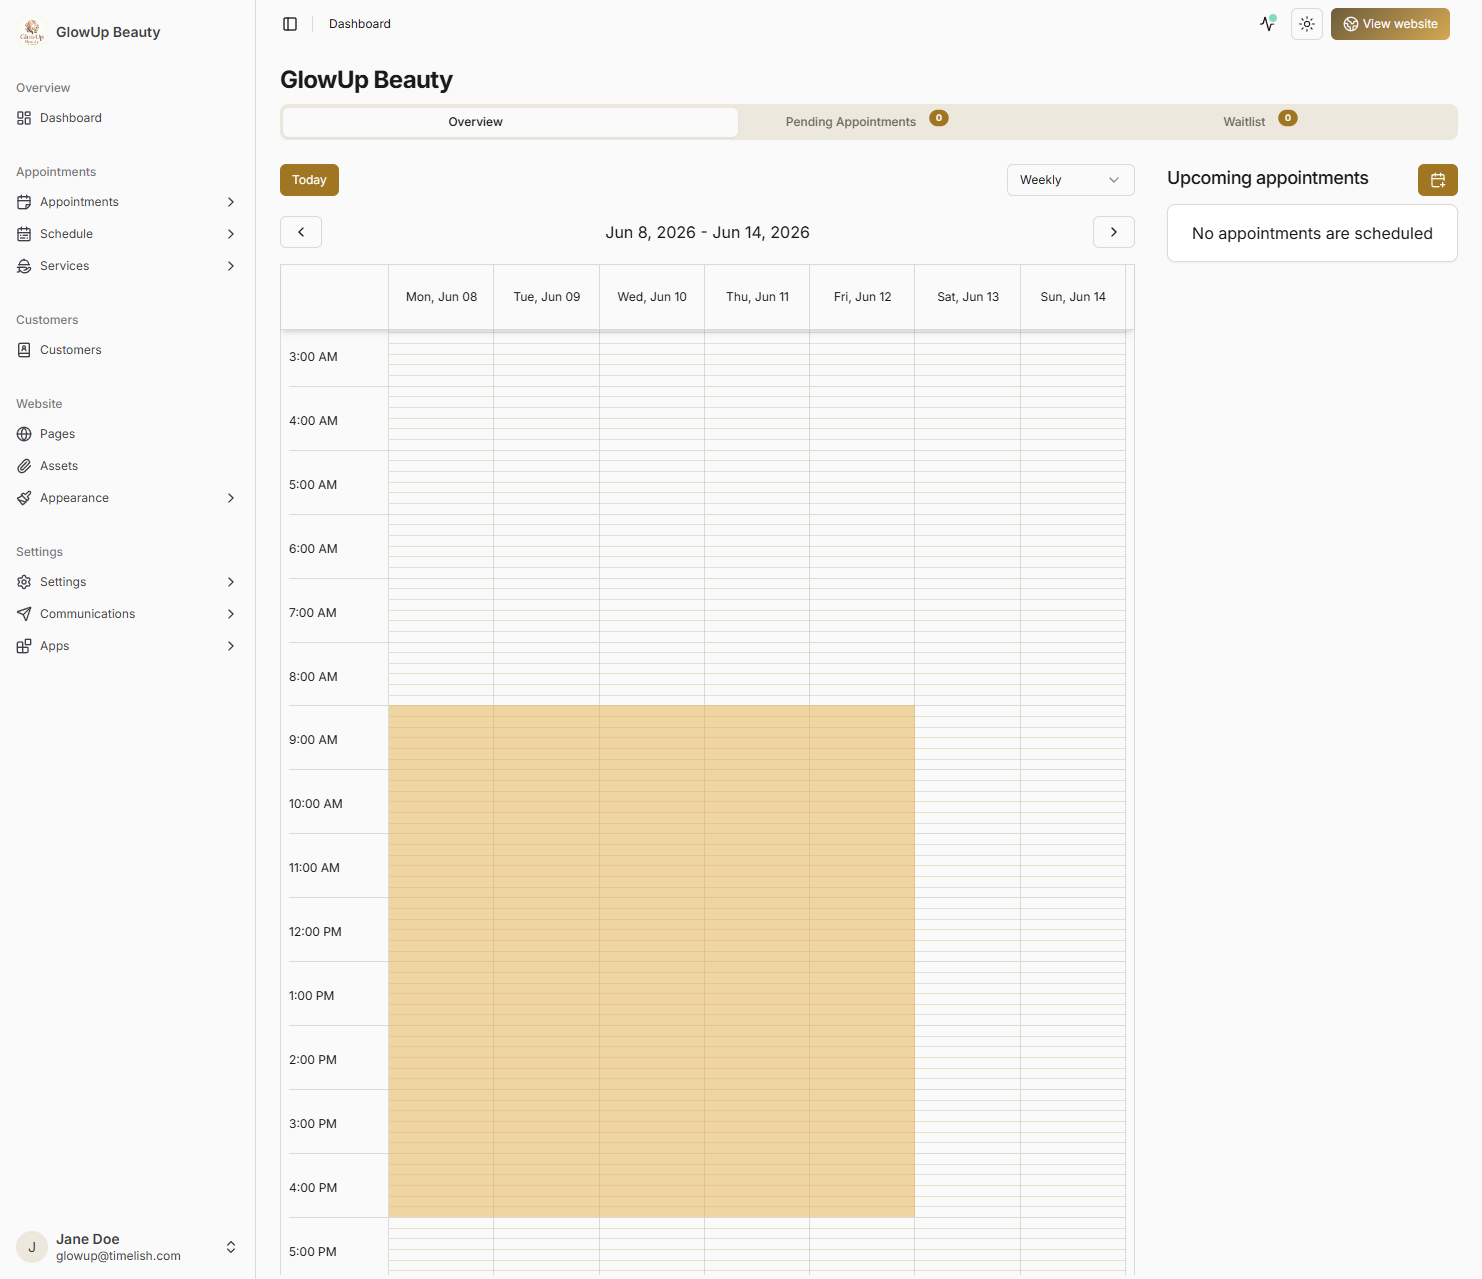
Dashboard home
Your starting screen after login. You will see a calendar snapshot, upcoming appointments, and a Pending appointments tab when bookings need your approval. Use it as a quick morning check-in.
Appointments
Every booking in one place. Filter the list, open a booking for details, or add an appointment by hand. Under Schedule, you can adjust working hours and optional schedule tools from installed apps.
Customers
A searchable list of everyone who has booked or been added manually. Open a customer to see their contact details, past appointments, files, and messages you have sent.
Website
Where you shape what the public sees:
- Pages - edit your site in a visual editor.
- Assets - upload images and files for your pages.
- Appearance - page headers, footers, and site-wide scripts.
Settings
Long-lived business choices: brand identity, booking rules, default schedule, communication templates, and your personal profile. See Change settings for a fuller reference.
Apps
Optional connections to outside tools - calendars, payments, email, text messaging, blog, forms, and more. Open App Store to add new ones; Installed shows what is already linked.
Before you begin
You should already have:
- Created your account and confirmed your email
- Chosen a plan and completed payment (if required)
- Finished Set up your workspace
If you have not done those yet, start in Getting started.
What to do next
Start with Complete your business profile, then follow the checklist above in order.